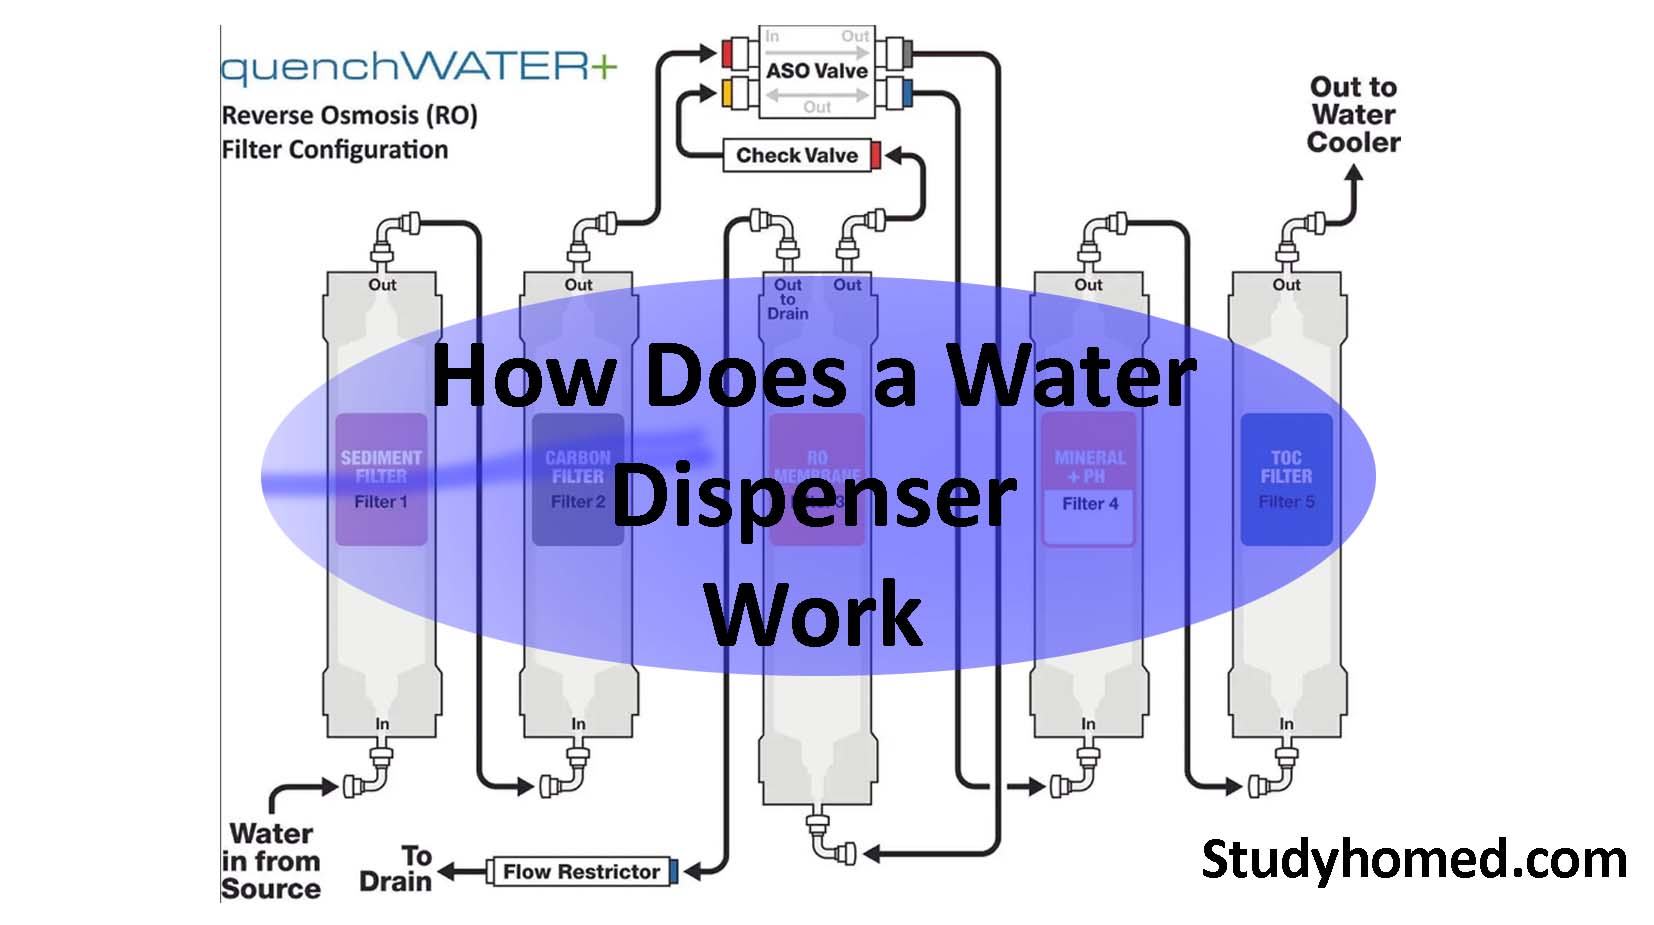
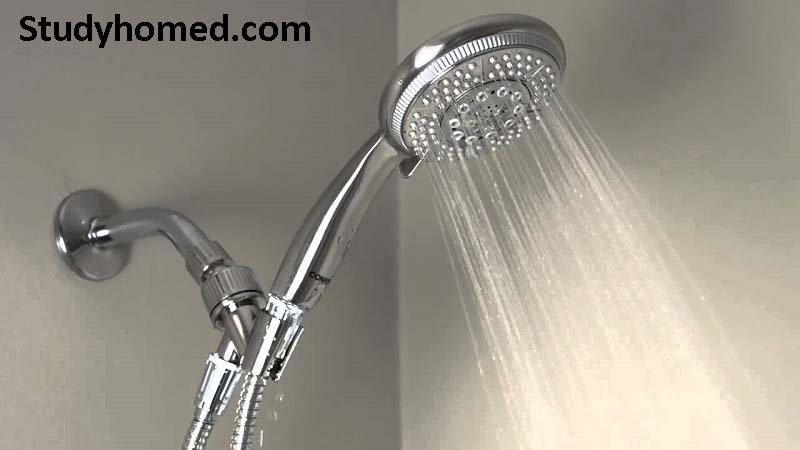
One of the most enjoyable moments any human being will experience is having a fresh morning shower. Any person will always want to ensure that their shower head is well maintained and in good condition to offer a comfortable and pleasant experience. Just like any other product, shower heads will too require some replacement due to wear and tear.
Shower heads are able to last for years. However, their appearance can become outdated and worn out after some time. It will get to a point where you will consider changing it. It is therefore important for any homeowners to know how to replace shower head.
How to Change a Shower Head with a Ball
In this section, we will take you through a step-by-step guide on how you can change the shower head with a ball.
- Step 1: Remove the shower head
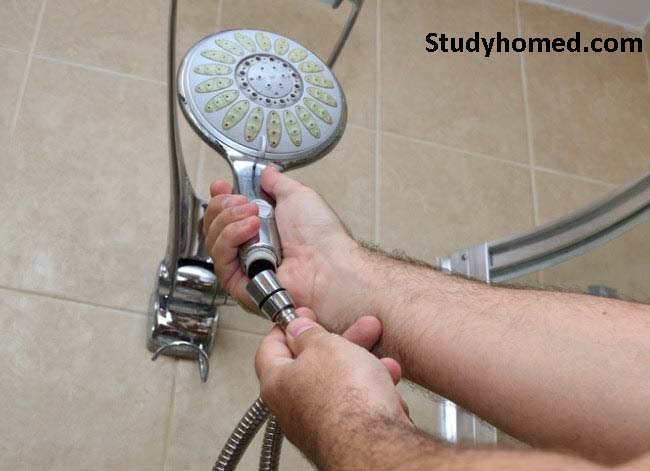
The first step is removing the shower head. You can achieve this using an adjustable pliers or a wrench. Ensure you place a rag around the shower head nut that attaches it to the shower head arm. Thereafter, turn in a counterclockwise direction to loosen it. The rag will help in preventing damage to the fixture finish. It is important that you know how to remove shower head to ensure the entire procedure is successful.
- Step 2: Have a look at the coupling
Take time and examine the shower head to help you determine i f you can have access to the ball fixture. The shower heads which will access the ball fixtures do have a coupling at the bottom half that you can always unscrew.
- Step 3: Unscrew Coupling
Unscrew the bottom of the coupling from the shower head. Thereafter, remove the ball fixture from the coupling.
- Step 4: Clean Shower Head Body
Keenly remove any water deposits or debris from the shower head’s main body. There is a screen located at inside the fixture which acts as a filter.
- Step 5: Properly Apply Plumber’s Grease to the Gasket
Apply grease or petroleum jelly to the rubber gasket that is inside the shower head’s main body. This will help in prolonging the life of the gasket.
- Step 6: Install New Ball
Put in a new ball fixture to the coupling and thread it to the main fixture body until it is hand tight.
- Step 7: Use the Plumbers Tape
Apply the plumber tape to the threads on the shower arm. Thereafter, attach the shower head by turning the nut in a clockwise direction until it snug.
- Step 8: Tighten the Shower Head
Tighten the shower head nut using pliers or an adjustable wrench. Ensure you use a rag to help prevent scratching the fixture.
How to Replace a Shower Head Arm
In this section, we will be taking you through a step by step guide on how to replace a shower head arm.
- Step 1: Remove shower head
Loosen the nut on the shower head arm. Remember to place a rag around the nut and turn the shower head arm in a counter clockwise direction using either a pliers or an adjustable wrench. It is important that you know how to remove shower head to ensure the entire procedure is successful.
- Step 2: Slide Back the Escutcheon
Keenly slide the escutcheon on the shower head arm away from wall. The escutcheon refers to a trim place that is designed to conceal the hole where the shower arm enters the wall.
- Step 3: Remove the Arm
You can now remove the arm. However, do not forget to place the rag around the shower arm.
- Step 4: Apply the Plumbers Tape
Properly apply the plumbers tape to the threads on the new shower head arm
- Step 5: Tighten the Arm
Ensure you properly thread the shower head arm into the plumbing supply line until the hand is tight. Tighten using the adjustable pliers and ensure you place a rag.
- Step 6: Replace Escutcheon
Properly slip the escutcheon over the shower head arm. Thereafter, wrap the plumber tape around the shower head threads. Attach the shower head by threading the nut situated on the arm.
How to Install a Shower Head With Handheld
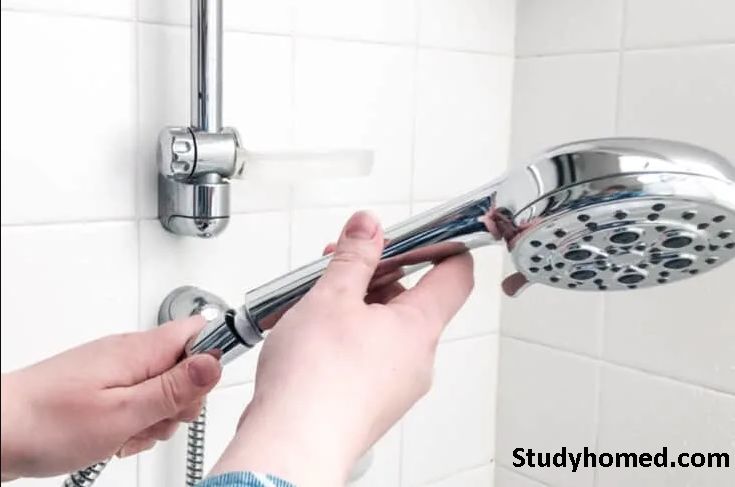
Here is a step by step guide on how to install a shower head with handheld.
- Step 1: Remove Old shower head
Try removing the old shower head by hand. However, if impossible, you can consider using an adjustable wrench or pliers. It is important that you know how to remove shower head to ensure the entire procedure is successful.
- Step 2: Remove the thread seal tape
Keenly remove the thread seal tape and wipe away any form of debris from the shower arm.
- Step 3: Wrap the thread seal tape around the Shower arm
Apply the thread seal tape in clockwise direction from the bottom of the shower arm. Make sure it does not unwind whenever you are screwing the head to the arm.
- Step 4: Make sure the rubber is properly placed in the threaded area of the shower holder bracket.
- Step 5: Hand tighten the shower holder bracket
Use pliers or adjustable wrench to ensure extra tightening. There are shower holder brackets which come with plastic fittings that have to be hand tightened while others have brass fittings with small notches for tightening with pliers or adjustable wrench.
- Step 6: Make sure the rubber washers are well seated inside the threaded area on both sides of the hose.
- Step 7: Tighten one end of the hose using your hand
- Step 8: Dock the hand held shower head to the holder bracket
- Step 9: Make sure you check if there are any leaks after installing shower head.
How to Install Shower Head with Hose
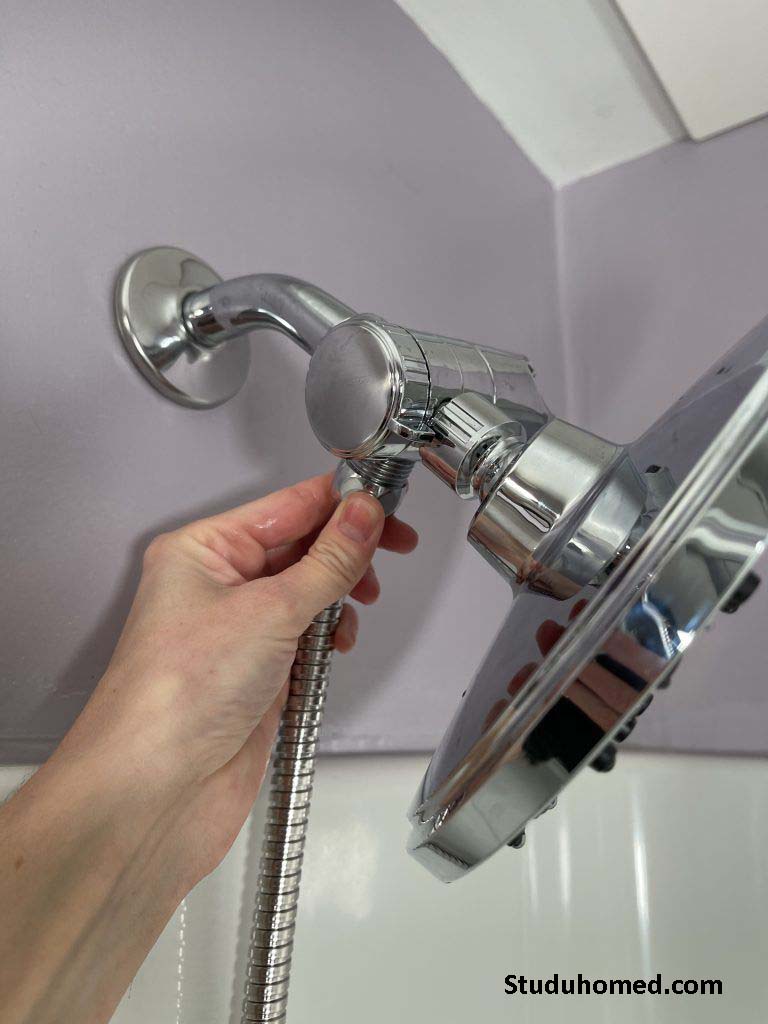
Here is a step by step guide on how to install shower head with hose.
- Step 1: Use your hand to tighten the shower head holder in a clockwise direction. Tighten it even more using an adjustable wrench or a piece of pliers.
- Step 2: Install the shower head hose
- Step 3: Start by making sure you understand which hose side goes where before you can attach the shower head hose.
- Step 4: Dock the handheld shower head
- Step 5: Using the holder, installed shower head and hose, dock the hand shower into the shower holder.
Do You Have To Use Teflon Tape on Shower Head
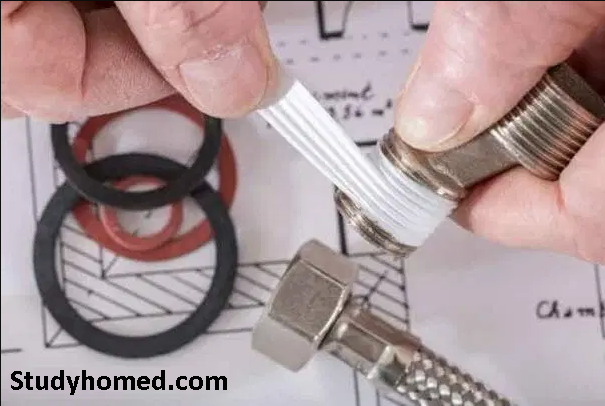
It does not matter if you are installing a new shower head or repairing a worn out shower head, it is always advisable that you use a Teflon tape. The Teflon tape will help in ensuring that you do a great job without using lots of your effort in a reasonable time. The Teflon tape will help in keeping the connections lubricated that will help with threading and makes it much easier to disassemble the connection. Teflon tape is very strong when you use it for sealing the shower head. You will never have to worry about leaking or malfunctioning of the showerhead after using the Teflon tape.
Conclusion
We hope this article have helped you understand how to replace a shower head. Ensure you following the entire procedures keenly to ensure you get the right results. At first, you might find it a bit challenging but with time you will start getting over it with ease.